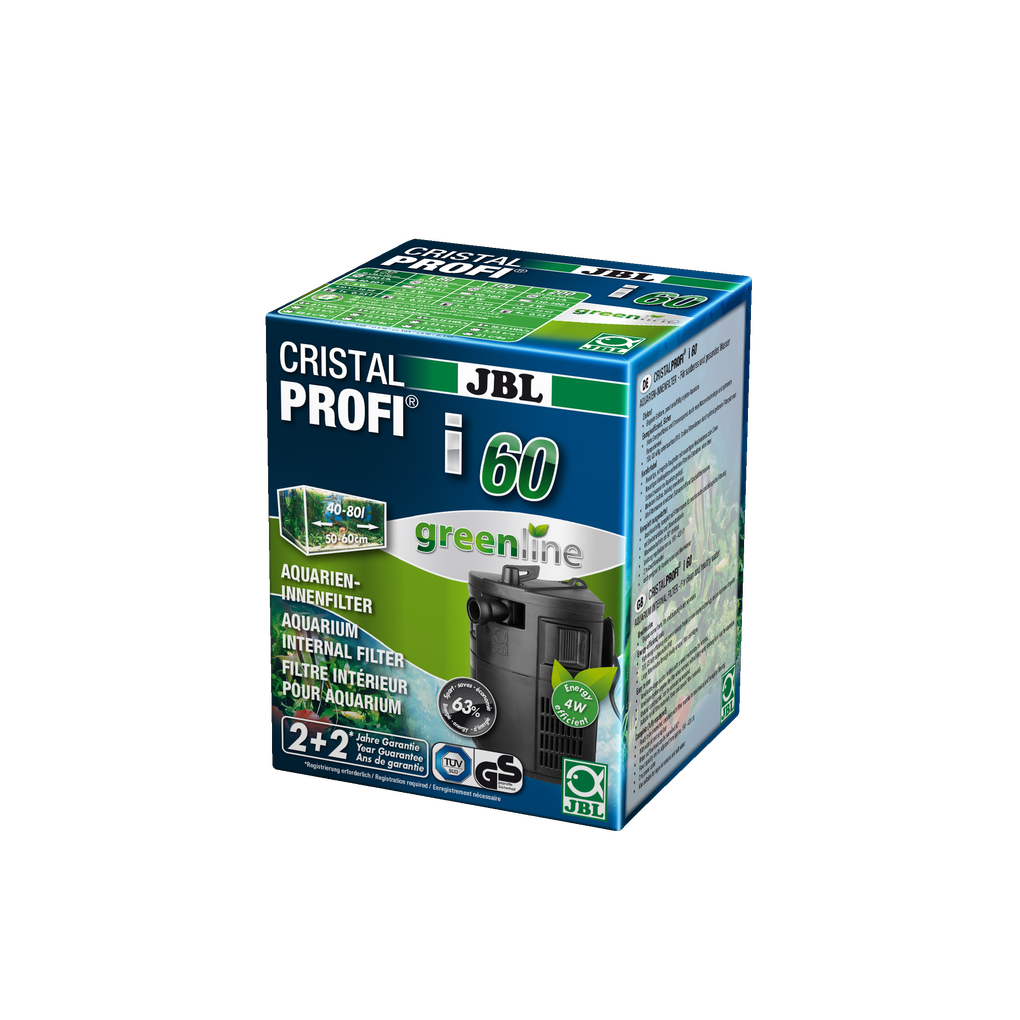
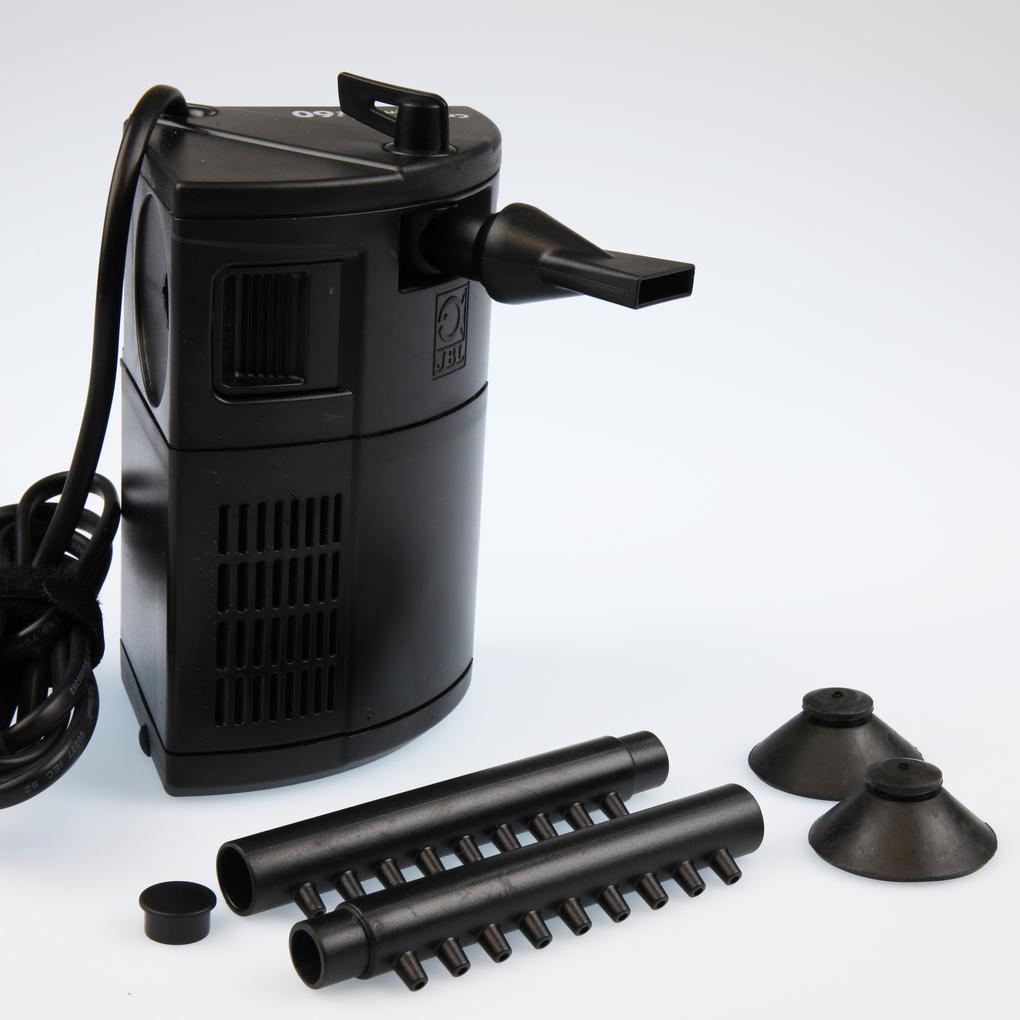
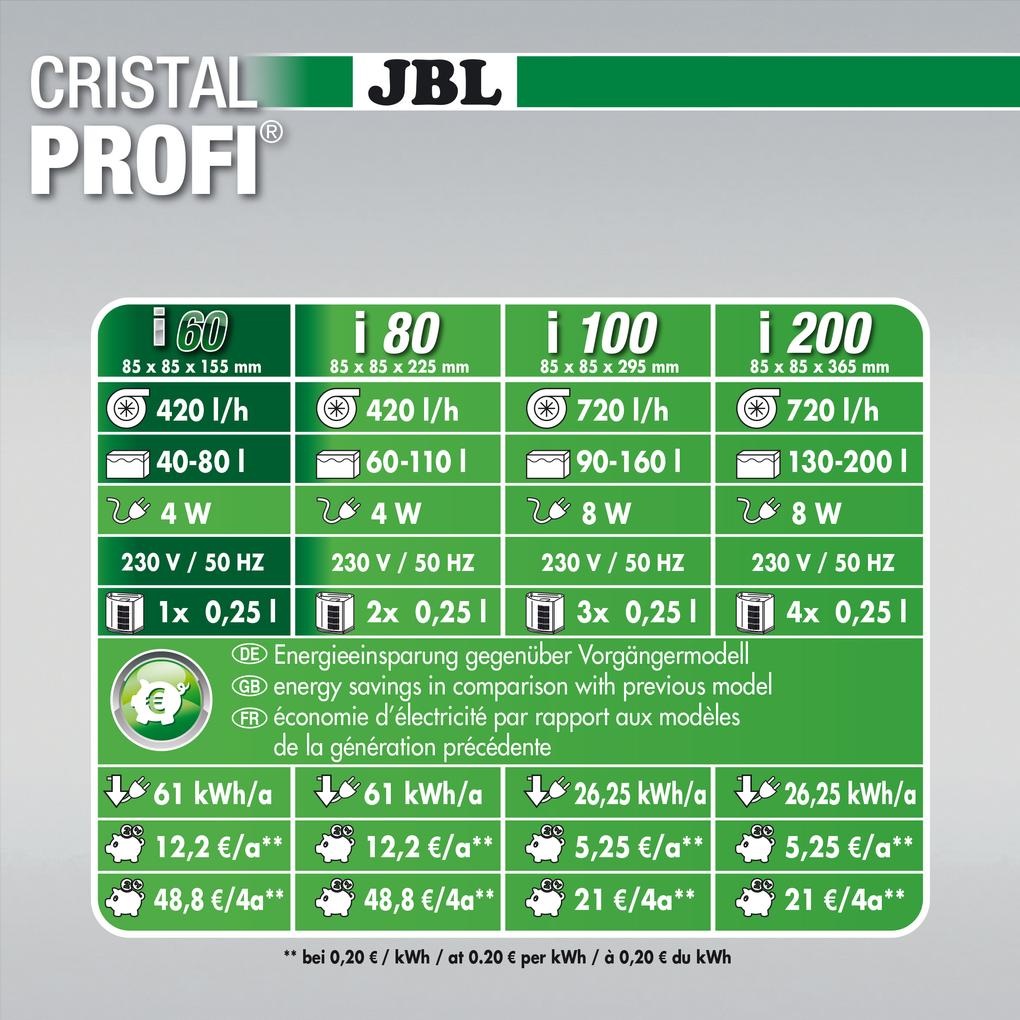
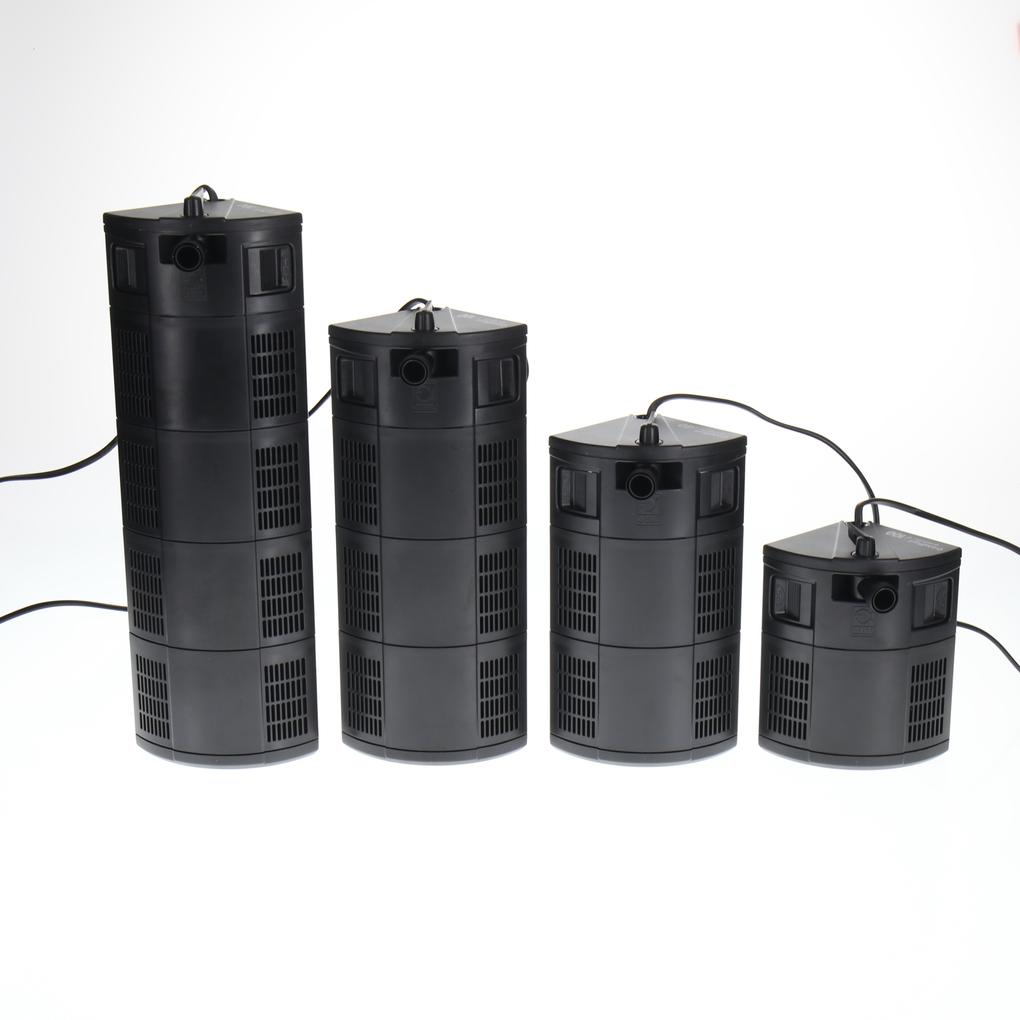
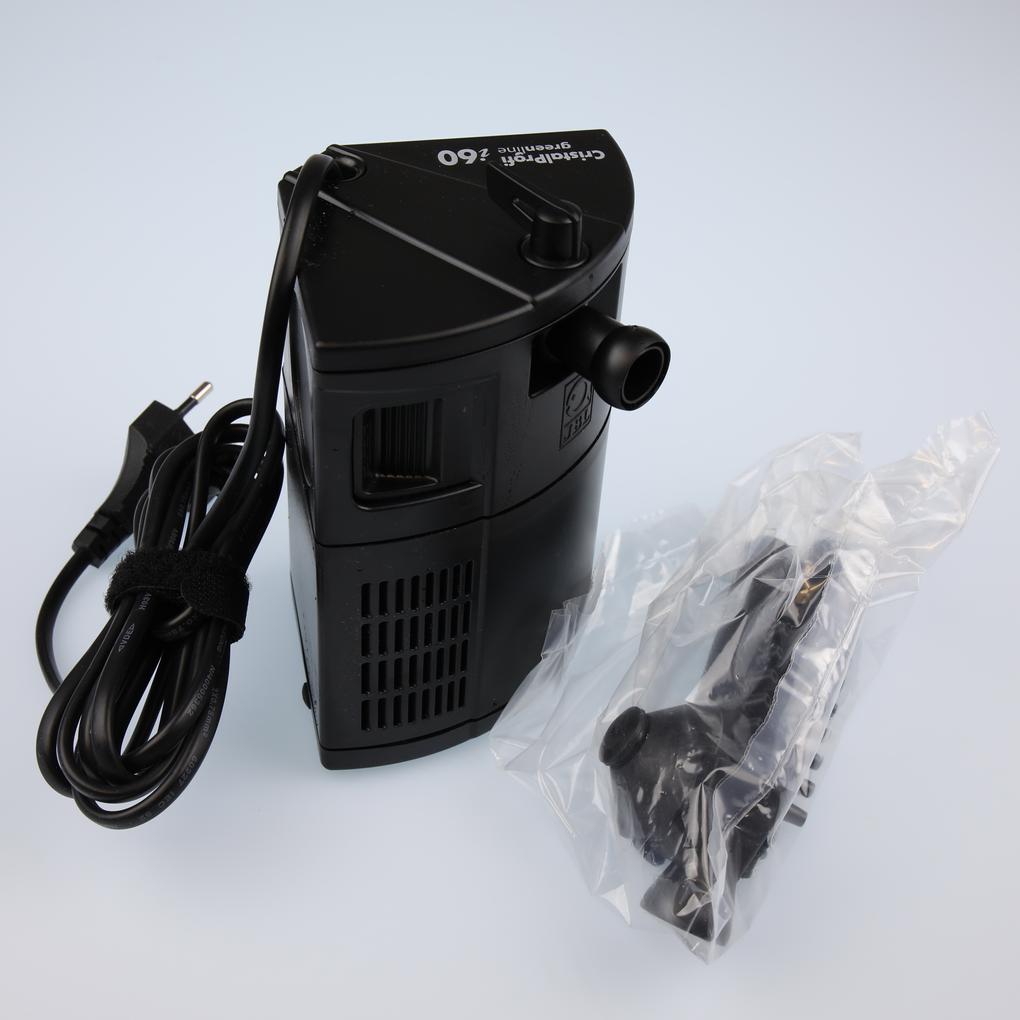
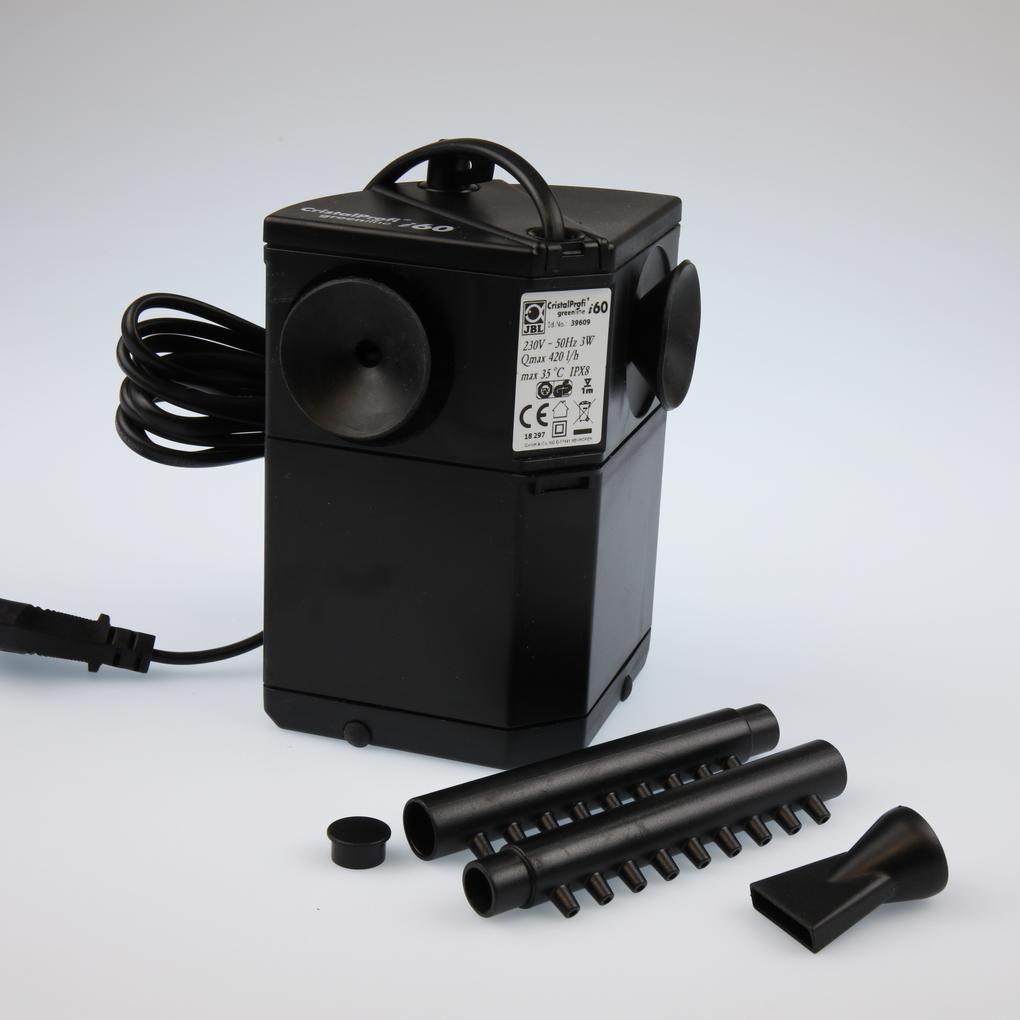
JBL CRISTALPROFI i60 greenline
47.3 EUR
Price incl. 16 VAT plus Delivery
In stock – delivered to you in 1-3 working days
Shop locator


You’ll find answers to the most frequently asked questions in our FAQ section. If you can’t find what you’re looking for here, please don’t hesitate to contact us directly – we’ll be happy to help.
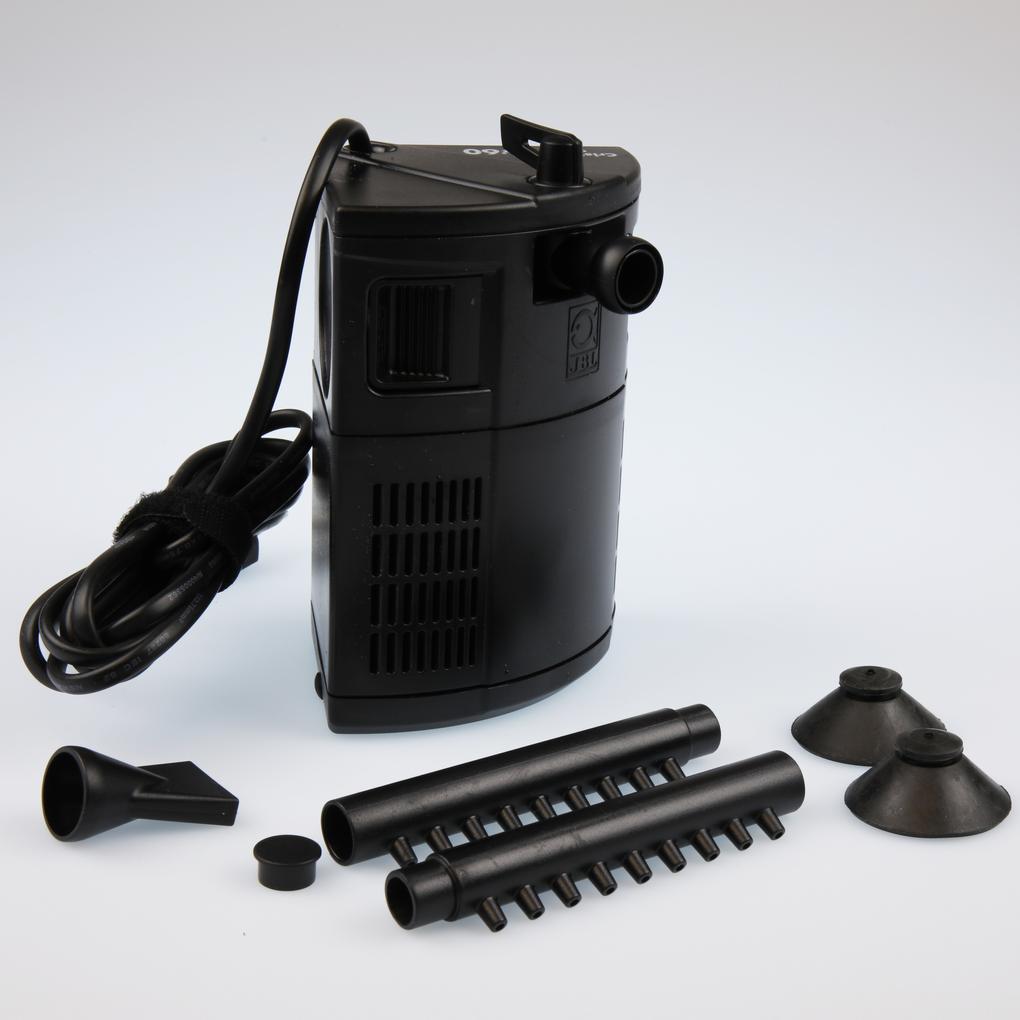
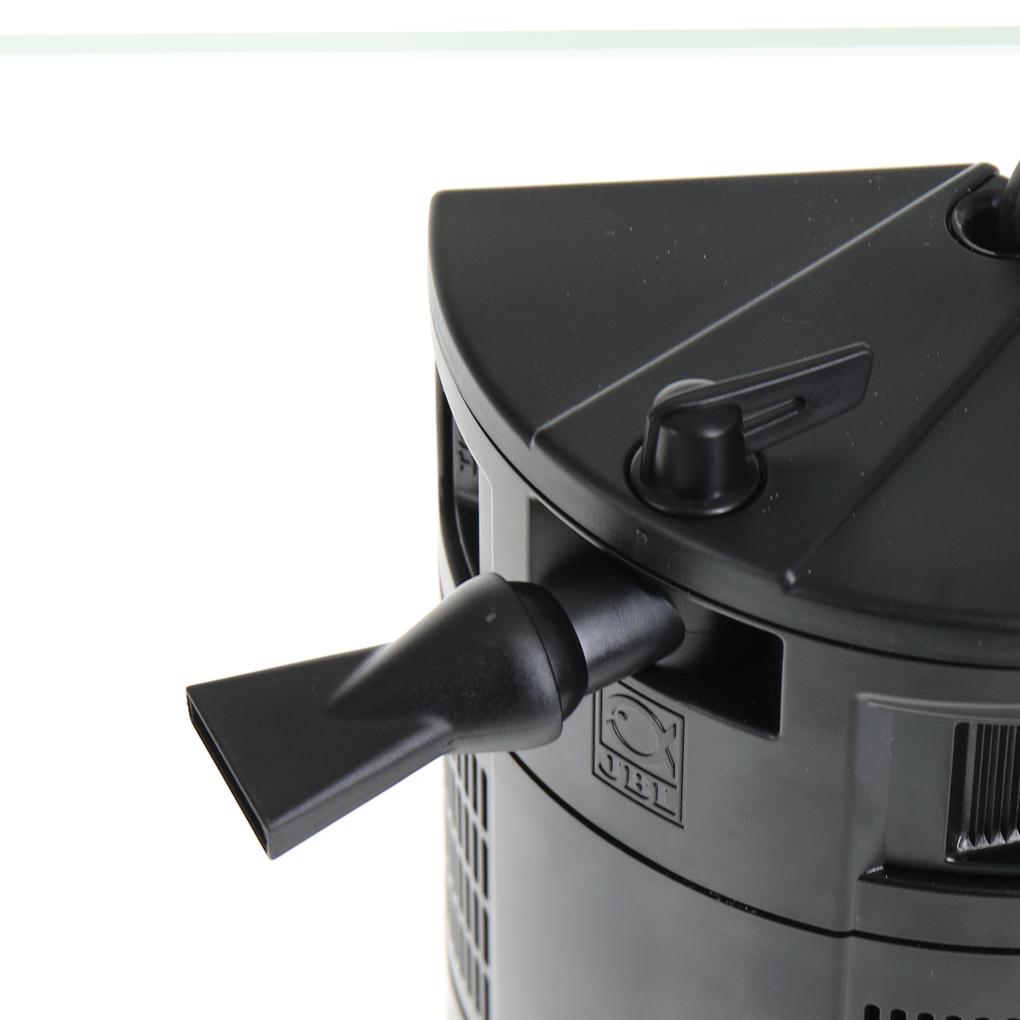
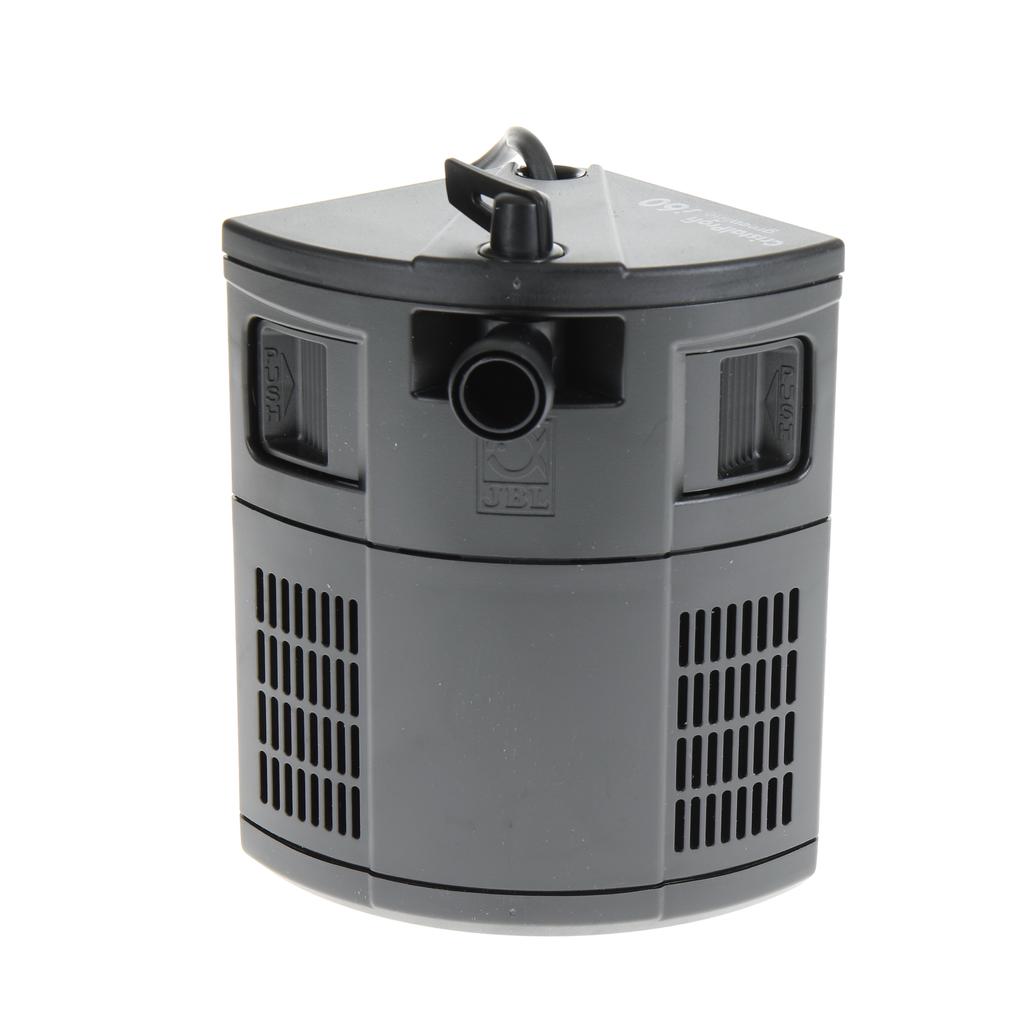
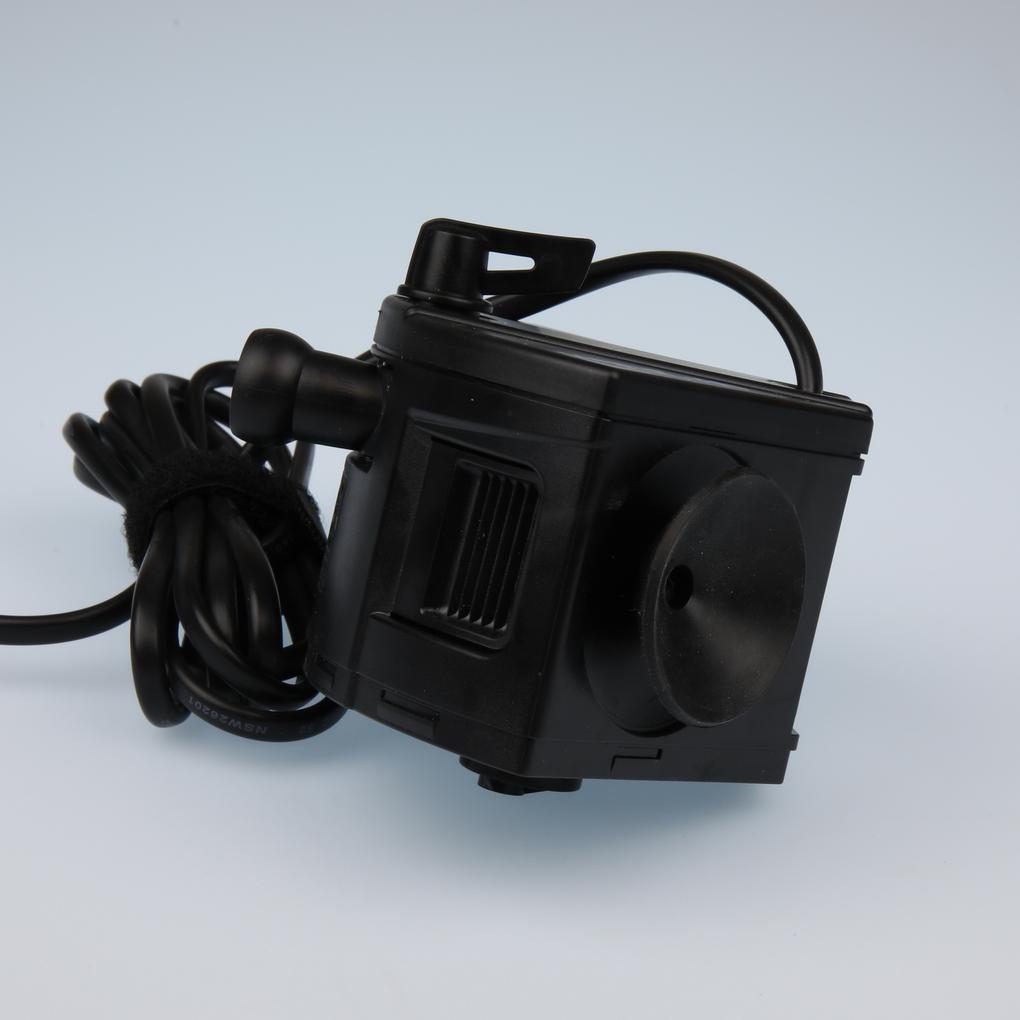
Press the enclosed large suction cups with a turning movement and gentle pressure into the side openings of the pump head. Make sure that the central pin reaches into the hole in the suction cup and reappears when it is attached. The correct installation is indicated in the following figure.
The impeller of the filter is subject to constant wear and tear. We recommend you replace it. This way its smooth running is ensured. Make sure that the noises are not caused by trapped air. _x000D_ _x000D_ The guarantee covers defects in material and assembly. The guarantee does not cover parts subject to wear and tear, such as the impellers or shafts as well as damage caused by external influences and improper handling.
It’s to investigate the cause of this. With pumps and filters positioned inside, you do not need to do anything other than hold the unit freely in the water, keeping it out of contact from any other objects. It is important that the unit remains completely under water and is only touching your hand. If the running noise is now quiet, there is no sign of wear on the rotor, it is just resonance transmission to surrounding elements such as the cover, the base cabinet or anything adjacent to the aquarium. You can then decouple this by making small adjustments. _x000D_ _x000D_ For external filters, make sure that the filter has 4 rubber feet at the bottom (except for the model CPe1901/2 with castors) and that it is only touching the cabinet there. To test the filter, place it next to or in front of the aquarium on a soft surface (e.g. a thick towel) and make sure that the hoses are not in contact with the cabinet. Many aquarium cabinets act like the sound box of a guitar with its sound hole. The smallest noise is amplified by the hollow body. Therefore, a soft underlay and, if necessary, lateral insulation are advantageous if the resonance is to be amplified. Tubes lying on top or in a very rigid installation with further attachments lead to the same effect. The test with the filter outside the cabinet, as described above, provides information about the actual operating noise. _x000D_ _x000D_ Strong running noises are caused by a worn impeller, a too strong load on the impeller due to a power reduction (dirt or throttling) and by a too small height difference between the water surface and the filter head, as described in the manual. Another possibility is that CO2 sucked in from the fertiliser system or air from the diaphragm pump, which are introduced near the filter, cause loud running noises.
There is no general answer to this question. As with a car tyre, the duration and intensity of use is decisive. Many customers use the impellers for several years without any noticeable change. Heavy use of the impeller results in a shorter service life. With a car, you know the wear and tear caused by heavy braking, mechanical damage and many kilometres driven. _x000D_ _x000D_ The following factors apply to an impeller: _x000D_ _x000D_ 1. Running time in hours _x000D_ 2. Throttling of the flow rate (max. 50 %) and thus lower cooling capacity _x000D_ 3. Dry running during water change (see 2.) _x000D_ 4. Mechanical damage (e.g. by snails, improper installation after removal, ...) _x000D_ 5. Heavy soiling _x000D_ _x000D_ As it is a wearing part, the impeller is not covered by the warranty. For a long service life, you need to clean it regularly. This will prevent increased running noises. The impeller housing, the impeller and the shaft can be cleaned with a suitable cleaning brush. _x000D_ _x000D_ If it is necessary to replace the impeller due to wear, always replace the complete set, impeller with shaft and 2 rubber bearings. This is the only way to ensure proper functioning and smooth running. When removing the impeller and shaft, a rubber bearing often gets stuck at the bottom of the impeller housing and is very difficult to remove. JBL has developed its own special tool for this purpose, which is available from pet shops under the name "Pulling aid for impeller bearing". A useful cleaning brush for the impeller housing is also included in the tool.
True to the motto, better safe than sorry, some aquarists install several check valves in the same circuit. For example, if you use the JBL PROFLORA direct inline diffuser or the JBL PROFLORA CO2 Count Safe bubble counter, you already have an integrated check valve. If you also use a separate check valve (JBL PROFLORA SafeStop), there may be problems with the opening of the check valves. This effect can be observed if, after the night switch-off or interruption of the supply with the controller, the addition does not restart automatically. Please note that, depending on the working pressure and the number of bubbles, a few minutes may pass between the start of the supply and the visible entry of CO2 into the aquarium. _x000D_ Each spring in a check valve needs a certain pressure to be opened. Several springs can therefore interfere with each other and, depending on the distance between the two check valves, reduce the pressure at the spring to such an extent that it remains closed. Therefore, please always use only one check valve for your CO2 installation.
For the CristalProfi greenline internal filters, "red-brown" and "light grey" suction cups were used for a time. They are fully functional and differ only in their colour. In the spare parts shop you will find the black suction cups which were unavailable for a while, should you not like the colour.
Ask the JBL Service Team your question.