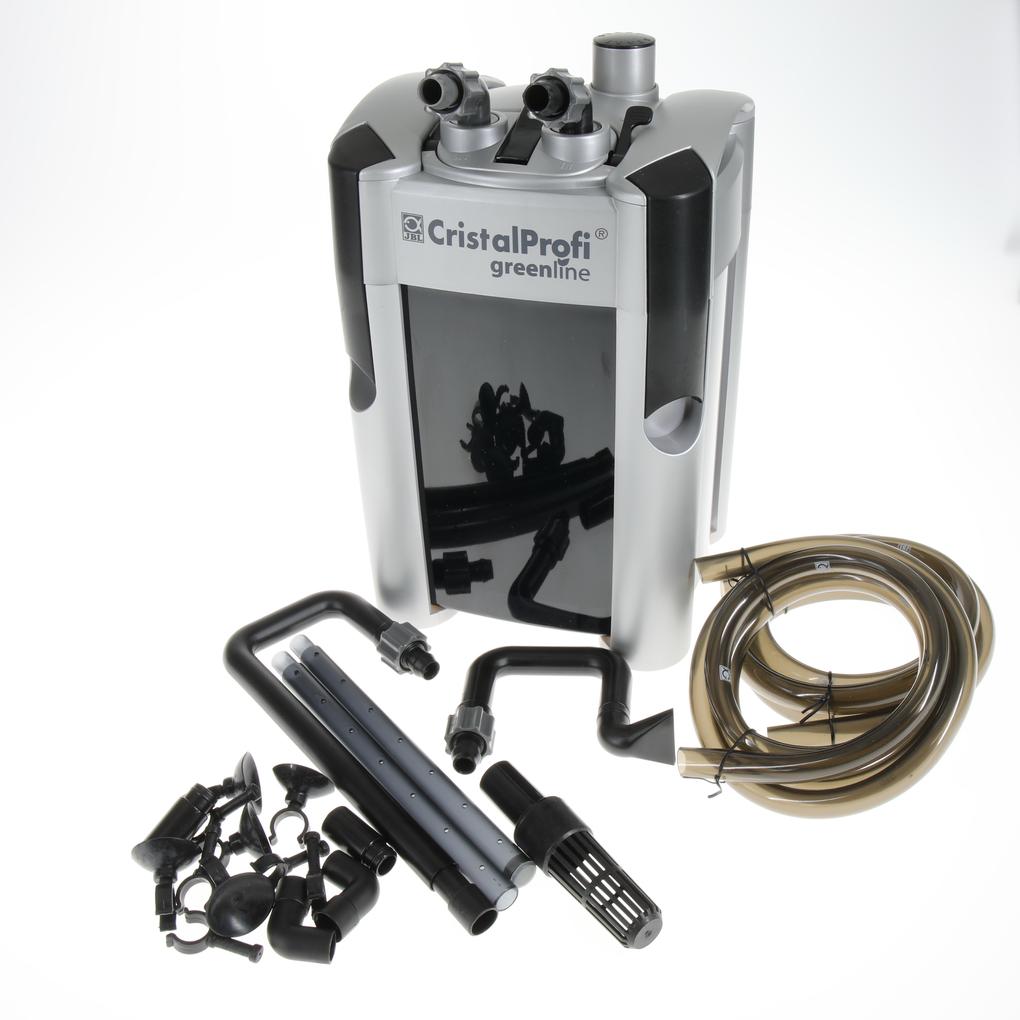
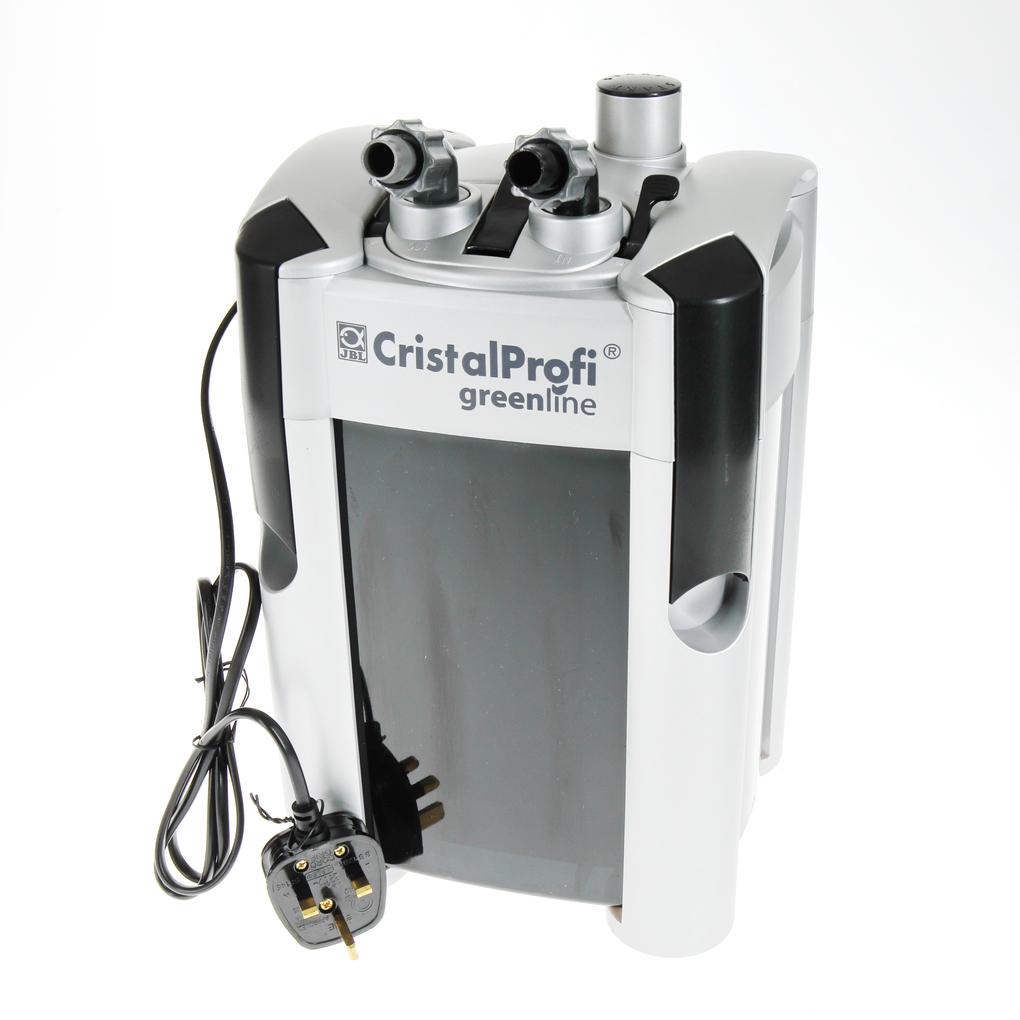
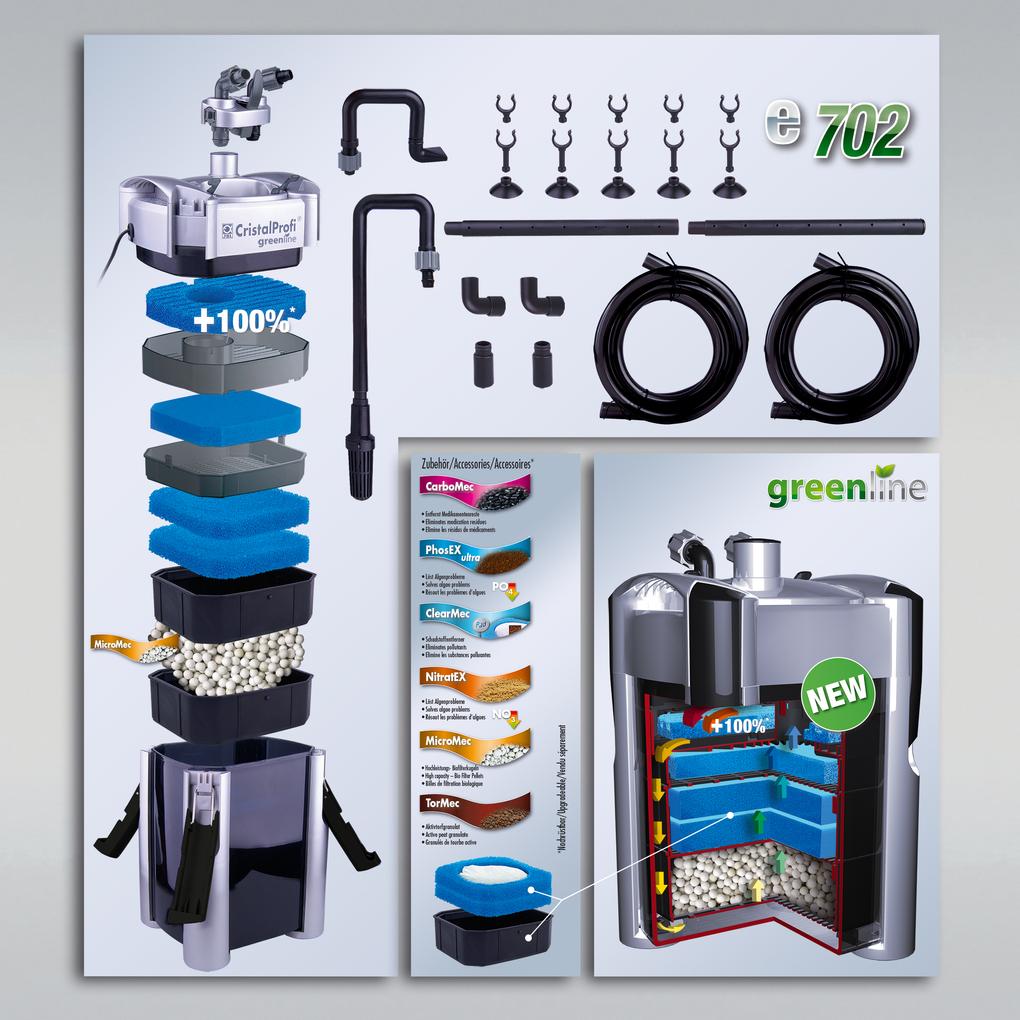
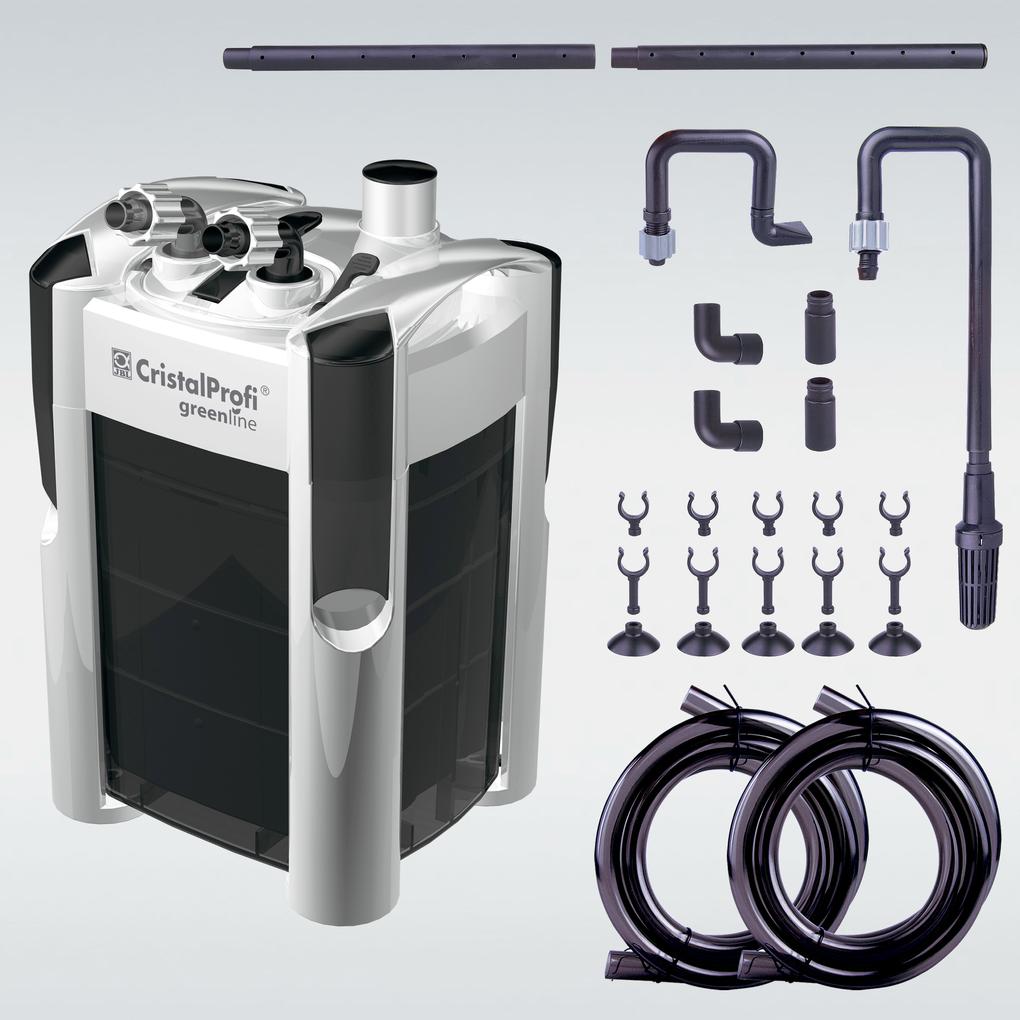
JBL CRISTALPROFI e702 greenline UK-plug
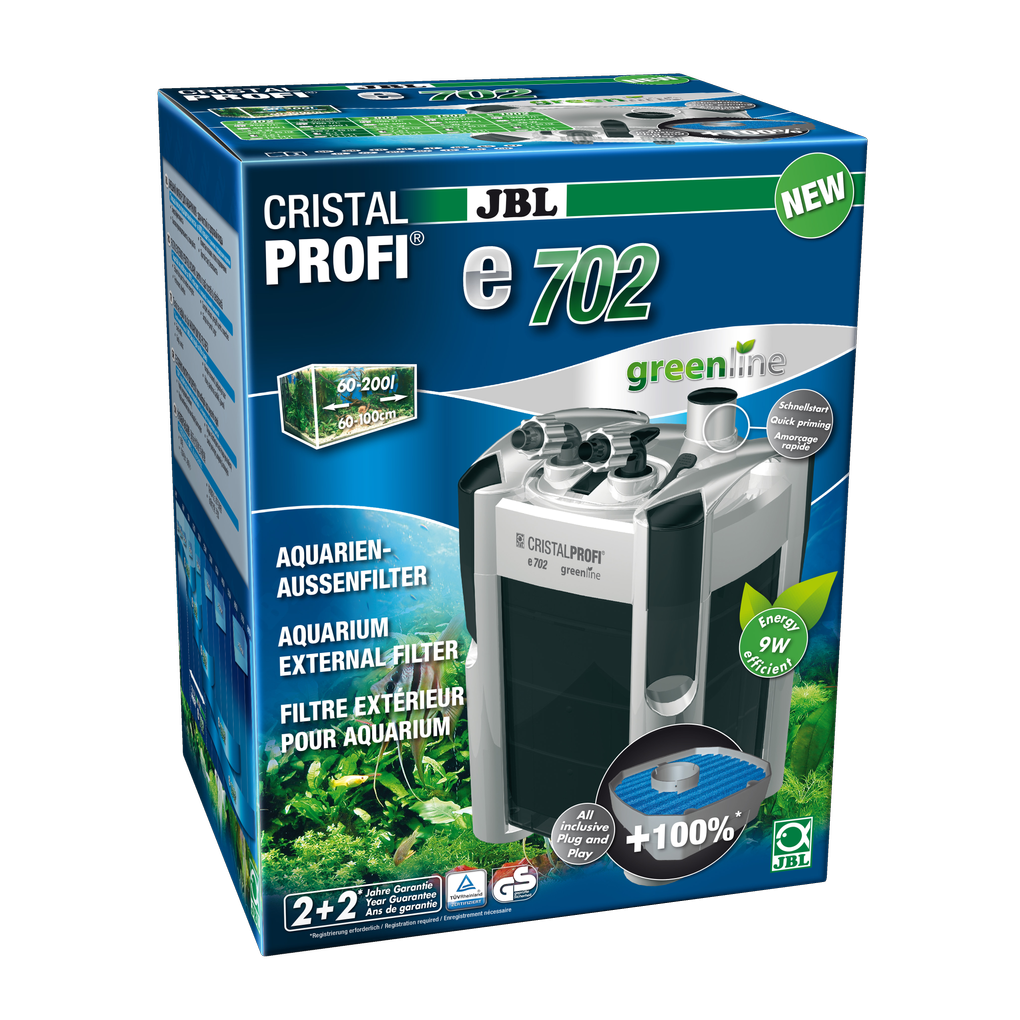
157.28 EUR
Price incl. 23 VAT plus Delivery
In stock – delivered to you in 1-3 business days
Shop locator

You’ll find answers to the most frequently asked questions in our FAQ section. If you can’t find what you’re looking for here, please don’t hesitate to contact us directly – we’ll be happy to help.
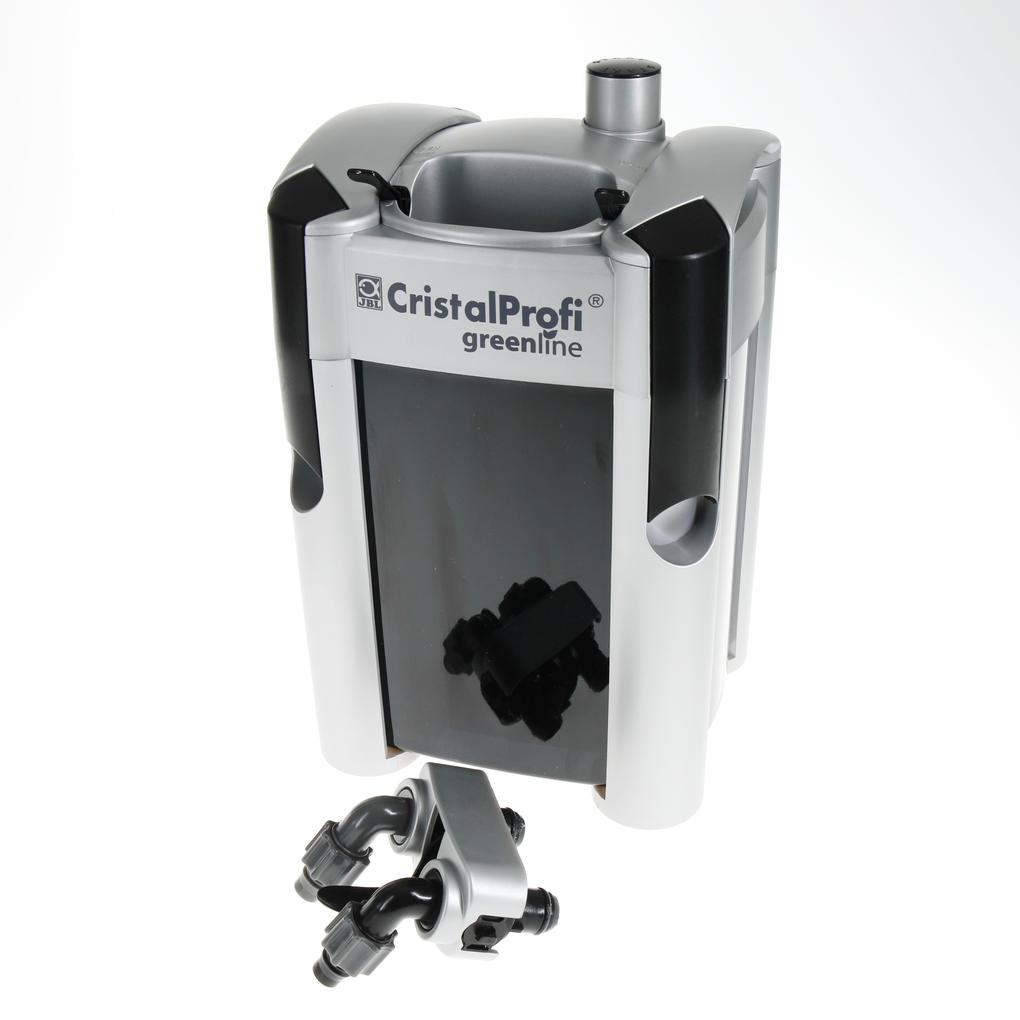
A further development of the locking clip provides even greater stability. The locking clip on the CristalProfi external filter is made of fiber-reinforced plastic to ensure greater stability. This can be easily recognized by the slight fiber structure on the surface.
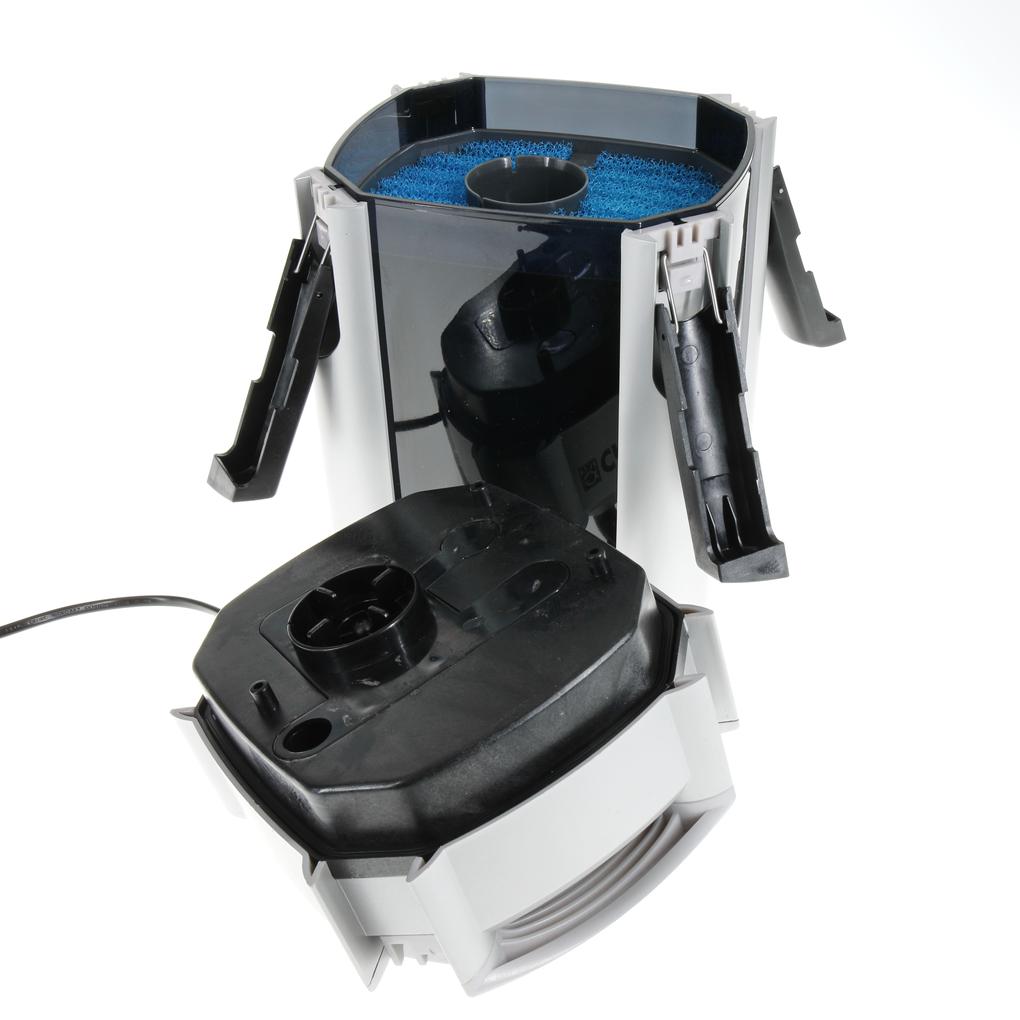
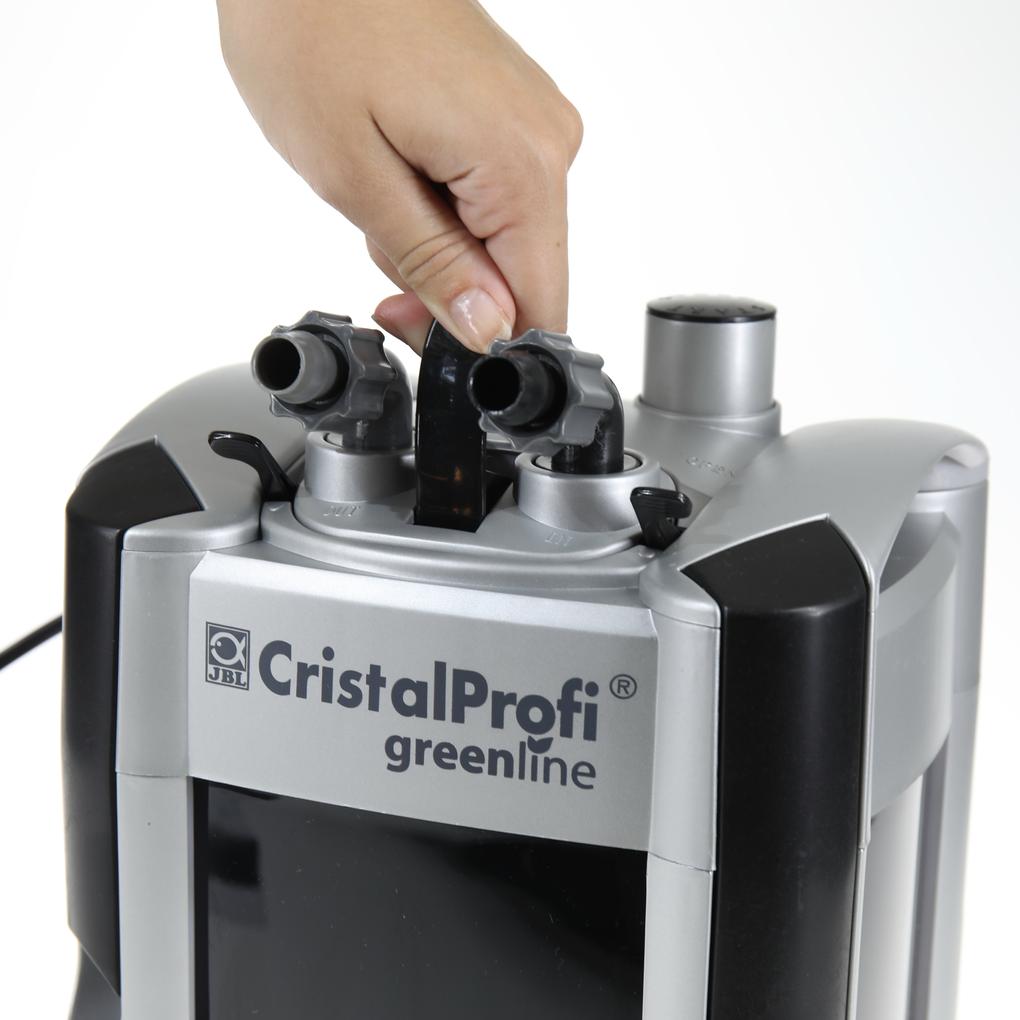
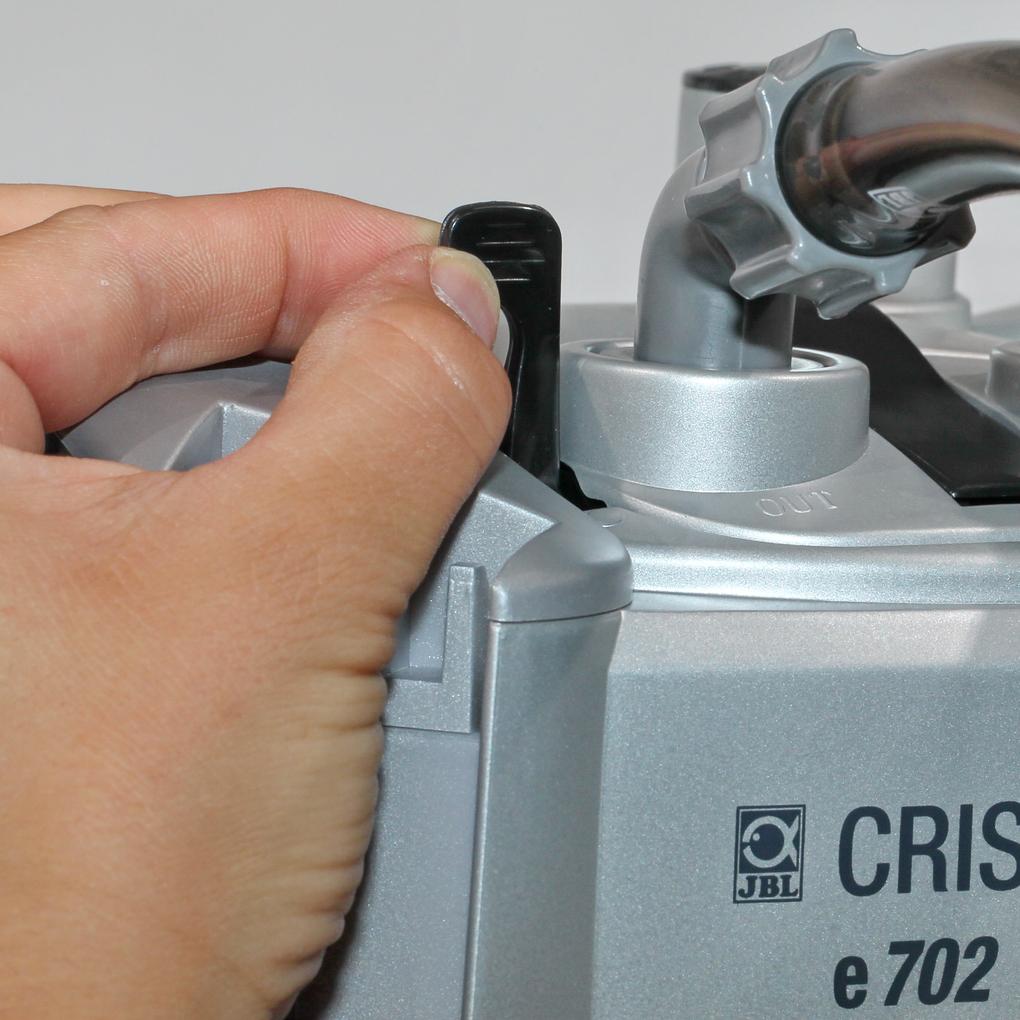
The start button is difficult to press the first time, as it needs to be activated. Use both hands, lean over the filter, and press the button firmly. A clicking sound will activate it and confirm that you have done it correctly. The start button can now be easily pressed with one hand.
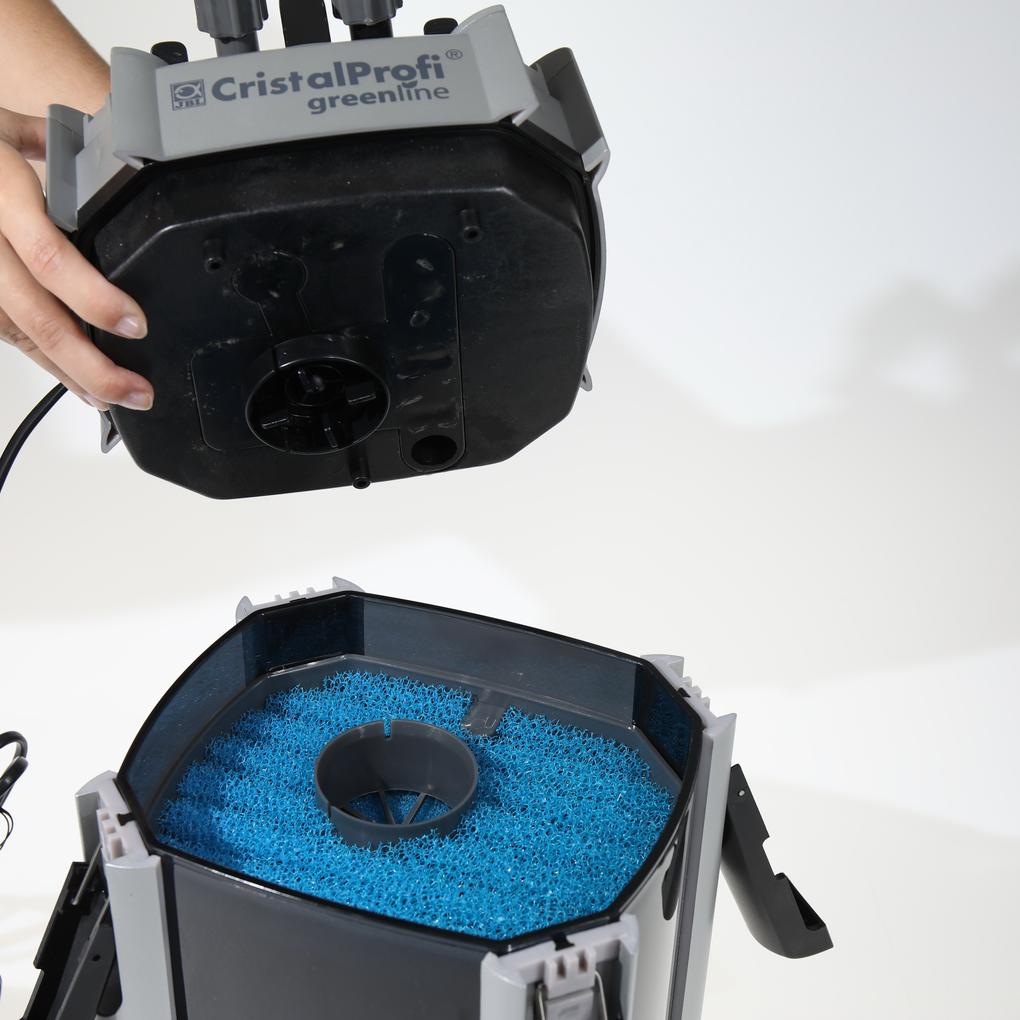
The filter rotor is subject to constant wear. We recommend replacing it. This will restore smooth operation. Make sure that the noise is not caused by air pockets. The warranty covers assembly and material defects. Wear parts such as the pump impeller and axle, as well as damage caused by external influences and improper handling, are excluded from the warranty.
There is no general answer to this question. As with a car tire, the duration and intensity of use are decisive. Many customers use the rotors for several years without noticing any noticeable change. Heavy use of the rotor will shorten its service life. With a car, you are familiar with wear and tear caused by heavy braking, mechanical damage, and high mileage. The following factors apply to a rotor: 1. Operating time in hours 2. Throttling of the flow rate (max. 50%) and thus lower cooling capacity 3. Dry running when changing the water (see 2.) 4. Mechanical damage (e.g. caused by snails, improper installation after removal, etc.) 5. Heavy soiling As this is a wearing part, the rotor is not covered by the warranty. For a long service life, you should clean it regularly. This will prevent increased running noise. The rotor housing, rotor, and axle can be cleaned with a suitable cleaning brush. If the rotor needs to be replaced due to wear, the entire set, including the rotor with axle and 2 rubber bearings, must always be replaced. This is the only way to ensure proper functioning and smooth operation. When removing the rotor and axle, a rubber bearing often gets stuck at the bottom of the rotor housing and is very difficult to remove. JBL has developed a special tool for this purpose, which is available from pet stores under the name "Pull-out aid for rotor bearings." A useful cleaning brush for the rotor housing is also included with the tool.
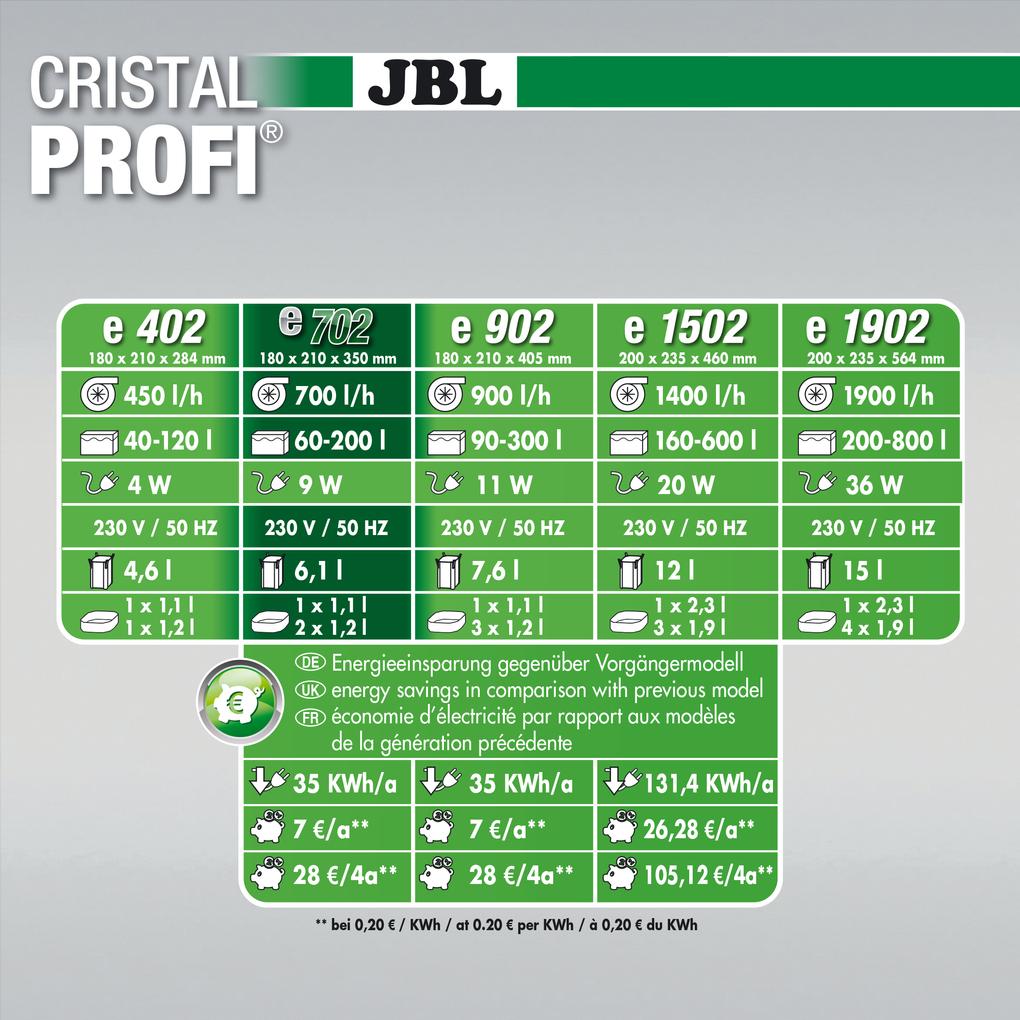
No, this is not usually possible. Otherwise, air will be sucked in and the water will stop flowing. The filter will not work properly. When installing next to the aquarium, there should be a distance of at least 20 cm between the water surface and the top edge of the filter. If the filter is placed in the aquarium cabinet, the height difference between the water surface and the bottom of the filter must not exceed 180 cm (120 cm for e402).
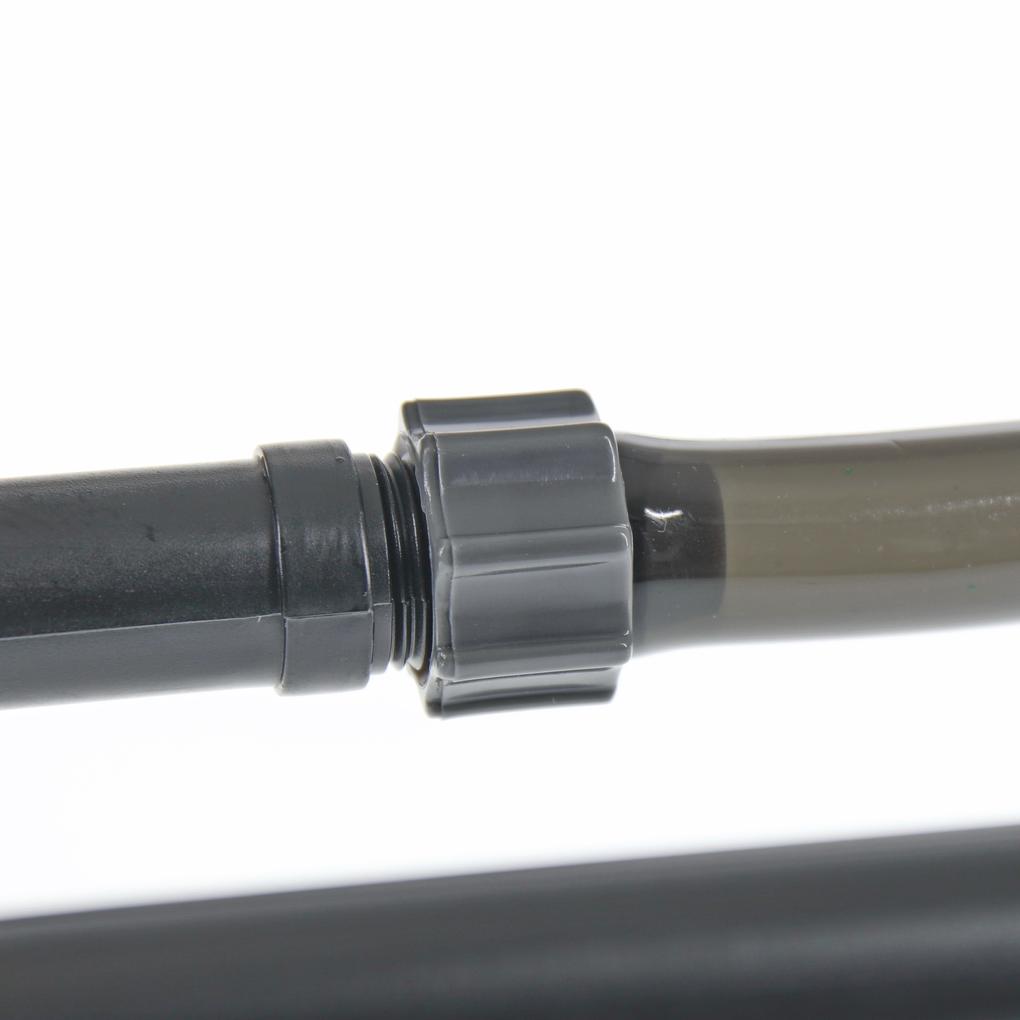
This is most likely due to a small bubble forming periodically in the pump head of the CristalProfi, which is then transported out of the filter. If air enters the filter system, this indicates, for example, that a seal is no longer tight or that the connection pieces are not tight. As there is a slight vacuum during operation, this may not necessarily be noticeable. If this is the case, you can test for leaks by temporarily switching off the filter. This will allow the water to escape from the affected area. Caution: Only carry out this check under supervision. Be sure to check the hoses on the inlet side for air pockets or fine bubbles. Often, the seat on the JBL InSet is simply no longer tight. Another possibility is that the filter material is very dirty, which can lead to the formation of foul-smelling gases that are periodically pushed out of the filter. Please restart the filter as follows: Remove the water from the filter body and the hoses. Make sure that both small shut-off levers on the pump head are in the "OPEN" position. During the following start-up process, the water outlet pipe with the jet nozzle etc. must be ABOVE the water level so that the device can be vented optimally. Press the "START" button on the pump head repeatedly with the palm of your hand until water begins to flow into the suction hose (hose connected to "IN"). Now wait until the filter is completely filled with water and the water in the hose to the water outlet pipe (hose connected to "OUT") is at the same level as the water level in the aquarium. Connect the filter to the power supply. The water will now flow from the water outlet pipe into the aquarium. Initially, it may be mixed with air that has become trapped between the layers of filter material. Gently shaking the filter will release the air and allow it to escape with the water flow.
In new installations, the remaining air escapes from the filter media within the first 5-7 days. This causes a "gurgling" or intermittent rattling noise. Further problems may occur due to resonance transmission. Please ensure that the filter has 4 rubber feet on the bottom and that it only comes into contact with the cabinet there. Place the filter on a soft surface to test it and make sure that the hoses do not come into contact with the base cabinet. If you notice air in the filter, please check the hose on the inlet side for air pockets and bubbles. These indicate an air source near the intake pipe.
Please clean all hoses, pipes, and the filter so that no biofilms, algae, or sludge remain. Rinsing with tap water is not sufficient. Please use the JBL Cleany hose brush for this purpose. Then remove the water from the filter body and the hoses. Make sure that both small shut-off levers on the pump head are in the "OPEN" position. During the subsequent start-up process, the water outlet pipe with the jet pipe etc. must be ABOVE the water level to ensure that the device is properly vented. Press the "START" button on the pump head repeatedly with the palm of your hand until water begins to flow into the suction hose (hose connected to "IN"). Now wait until the filter is completely filled with water and the water in the hose to the water outlet pipe (hose connected to "OUT") is at the same level as the water level in the aquarium. Connect the filter to the power supply. The water will now flow from the water outlet pipe into the aquarium. Initially, it may be mixed with air that has become trapped between the layers of filter material. Gently shaking the filter will release the air and allow it to escape with the water flow.
Ask the JBL Service Team your question.